This Lab is based on Prof.Marcelo Rovai chapter on Image Classification in the ML Systems open book.
Lab Goal: This lab will explore a computer vision project utilizing Convolutional Neural Networks (CNNs) for real-time image classification. Leveraging TensorFlow’s robust ecosystem, we’ll implement a pre-trained MobileNet model and adapt it for edge deployment. The focus will be on optimizing the model to run efficiently on resource-constrained hardware without sacrificing accuracy.
We’ll employ techniques like quantization and pruning to reduce the computational load. By the end of this tutorial, you’ll have a working prototype capable of classifying images in real-time, all running on a low-power embedded system based on the Arduino Nicla Vision board.
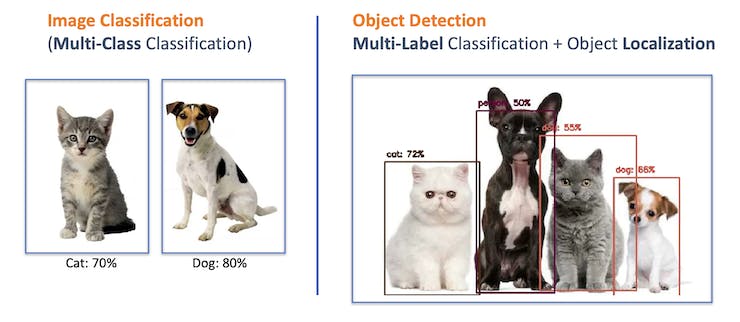
When discussing Computer Vision projects applied to embedded devices, the most common applications that come to mind are Image Classification and Object Detection.
Both models can be implemented on tiny devices like the Arduino Nicla Vision and used on real projects. In this lab, we will cover Image Classification.
The first step in any ML project is to define the goal.
<aside> 💡
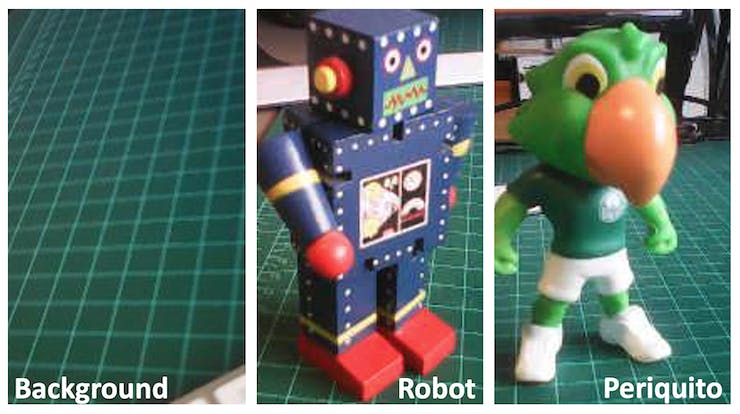
In this case, the goal is to detect and classify two specific objects present in one image.
</aside>
For this project, we will use two small toys: a robot and a small Brazilian parrot (named Periquito). Also, we will collect images of a background where those two objects are absent.
Once you have defined your Machine Learning project goal, the next and most crucial step is the dataset collection. You can use the Edge Impulse Studio, the OpenMV IDE we installed, or even your phone for the image capture. We will use the OpenMV IDE to collect images.
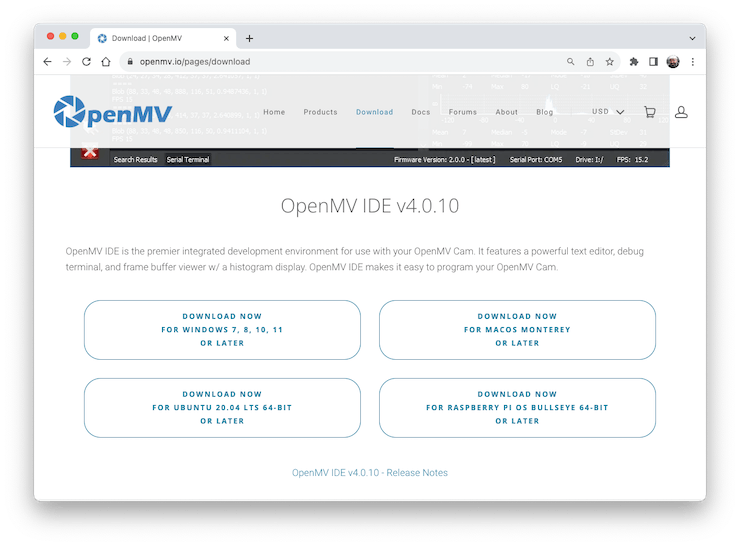
OpenMV IDE is the premier integrated development environment with OpenMV Cameras like the one on the Nicla Vision. It features a powerful text editor, debug terminal, and frame buffer viewer with a histogram display. We will use MicroPython to program the camera.
Go to the OpenMV IDE page, download the correct version for your Operating System, and follow the instructions for its installation on your computer.
The IDE should open, defaulting to the helloworld_1.py code on its Code Area. If not, you can open it from Files > Examples > HelloWord > helloword.py